
The Best Guide on How to Lay Artificial Grass
Want to lay artificial grass in your yard? This article covers how to lay artificial grass, including preparation, tools, and the installation process. You’ll find everything you need to know for a hassle-free setup, step by step.
Key Takeaways
- Proper preparation, including measuring your lawn and selecting the right type of artificial grass, is key to a successful installation.
- Using the right tools and materials, like a weed barrier and infill, ensures a smooth installation and keeps your artificial lawn looking great.
- Regular maintenance, including cleaning and brushing, helps maintain the appearance and longevity of your artificial grass.
Preparation for Laying Artificial Grass
Proper planning and preparation of the area are essential before installing artificial grass. This preliminary work lays the groundwork for a successful installation, ensuring your artificial lawn looks great and lasts for years.
Choosing the right type of artificial grass, measuring your lawn area, and checking local regulations will save you from future headaches through meticulous preparation.
Select the Right Artificial Grass
Selecting the right artificial grass is crucial for a beautiful synthetic lawn. Options include polyethylene, polypropylene, and nylon, each with unique benefits. Polyethylene is durable and budget-friendly, while nylon offers superior wear and tear qualities.
Prices for artificial grass range from $1.50 to $11.60 per square foot, so choose one that fits your aesthetic preferences and budget.
Investing in high-quality turf pays off with a realistic appearance and longer lifespan.
Measure Your Lawn Area
Accurate measurements are crucial for determining the amount of artificial turf needed. Measure the length and width of your lawn area, considering any joins for larger spaces. Double-checking your measurements ensures you order enough turf to cover the area without gaps.
Precise measurements prevent material shortages and help you plan the layout more effectively, ensuring a seamless installation process.
Check Local Regulations and Permits
Check local regulations and permits before starting, especially if renting or part of a homeowners association. Compliance with specific guidelines prevents legal issues.
Identify and Mark Utilities
Identify and mark underground utilities such as gas lines, water pipes, or electric cables to avoid hazards. Services like ‘Call Before You Dig’ can mark utility lines before starting your project.
This ensures safety and prevents damage to essential services.
Essential Materials and Tools
The right tools and materials make installation smoother and more efficient. Essential tools include a utility knife for cutting the grass, a plate compactor for the base, and a push broom for brushing the grass.
Additionally, you’ll need artificial grass, a weed barrier to prevent weed growth, sharp sand for leveling, and infill materials like silica sand to support the grass blades and enhance appearance.
Tools You Will Need
A set of essential tools is necessary to lay artificial grass successfully. Use a utility knife for trimming the edges, and a plate compactor to compact the base material, creating a solid foundation.
A push broom helps maintain the grass fibers upright and natural-looking. Landscaping pins or flat-headed galvanized nails secure the turf, while adhesive and carpet tacks are useful for wooden surfaces.
Materials Checklist
Ensure you have all necessary materials before starting the install artificial turf. This includes artificial grass, a weed barrier fabric, sharp sand for leveling and drainage, and infill materials like silica sand to support the grass blades. Having these ready ensures a smooth and efficient process.
Step-by-Step Installation Process
With preparations complete, follow this step-by-step guide to install artificial grass, from clearing the surface to adding final touches.
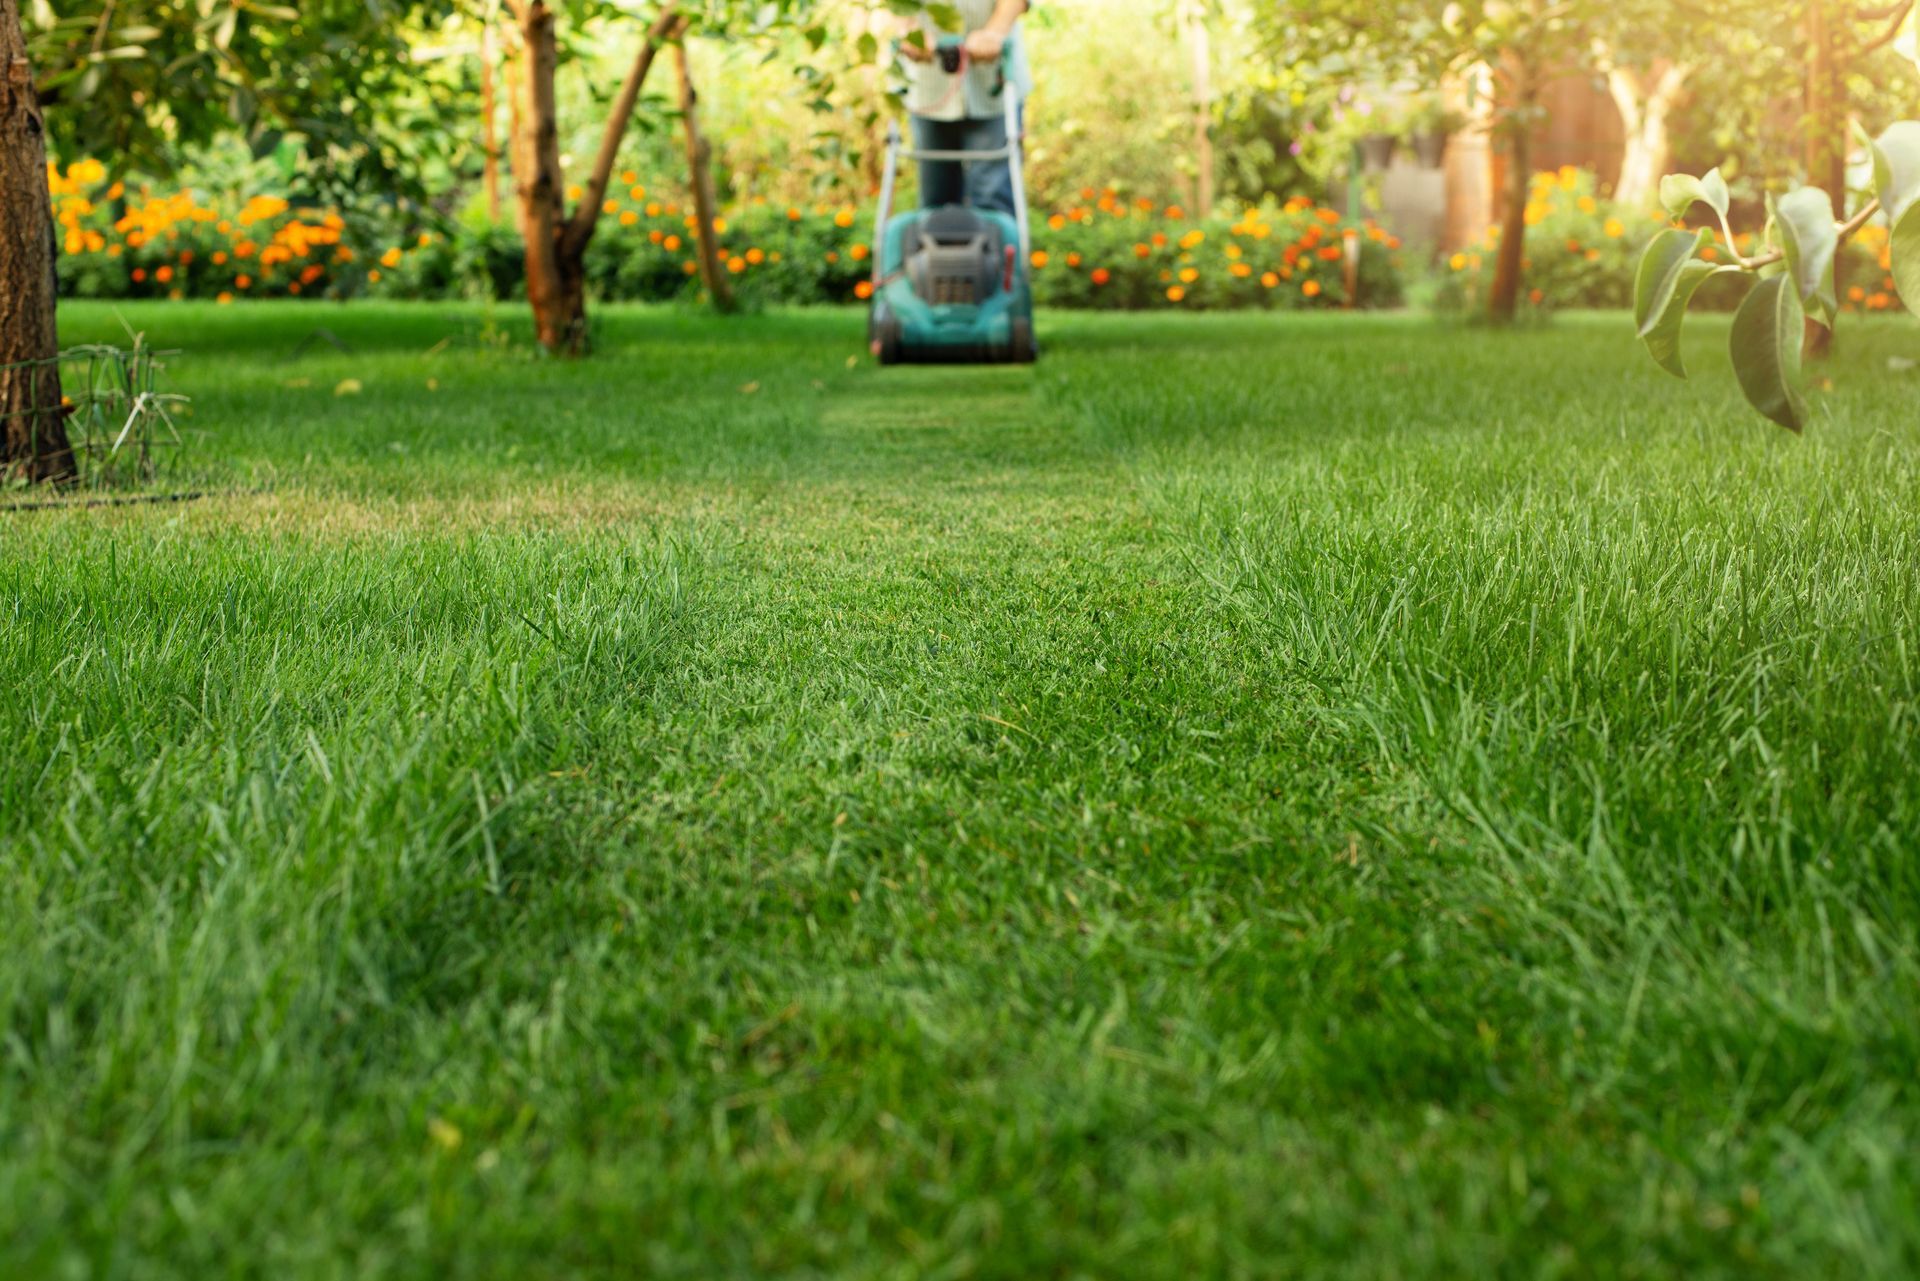
Clear the Existing Surface
Remove any existing vegetation and debris from the area. For small areas, hand removal is sufficient, but for larger areas, a mechanical turf cutter is useful. Use a grass trimmer to clear roots and debris, ensuring the surface is level.
Apply weed killer two weeks before installation to prevent future weed growth. Removing debris and leveling the surface provide a solid foundation for your artificial lawn.
Install a Weed Barrier
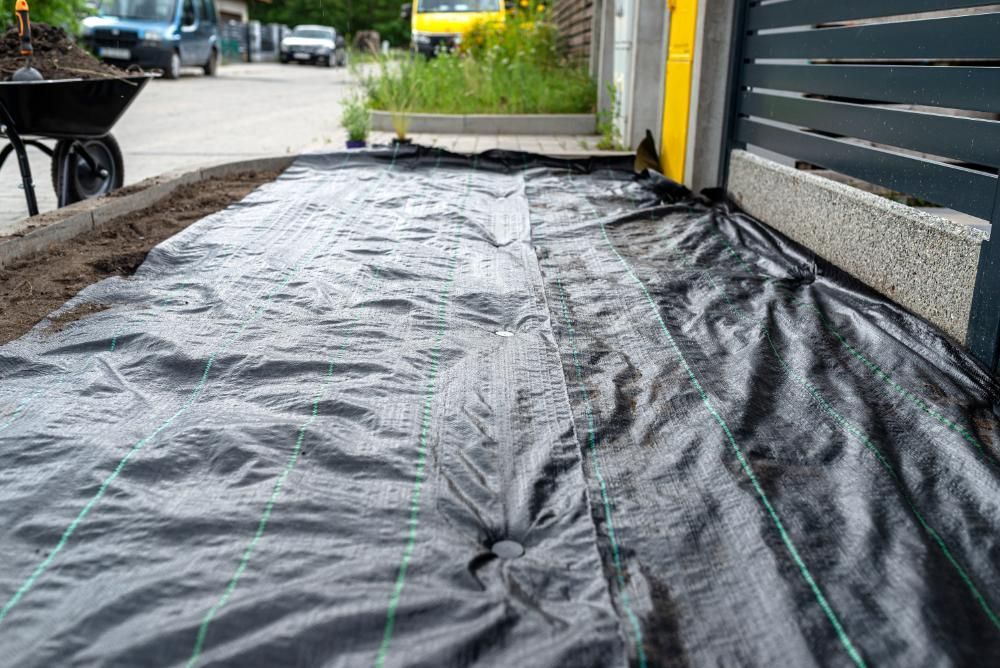
A weed barrier prevents weeds from growing through the artificial grass. Lay geo-textile fabric over the cleared surface to maintain the integrity of your artificial lawn by preventing weed growth beneath the turf.
Ensure the weed barrier covers the entire area to prevent weeds and add a layer of protection and stability to your new lawn.
Prepare the Base Layer
Use class II road base or decomposed granite for the base layer, spreading it evenly to a depth of 3 to 4 inches. This stable, well-draining base is crucial for your artificial grass installation.
Compact the base layer using a hand tamper, light roller, or plate compactor, working from the highest point outward. This secures the artificial grass and prevents future issues.
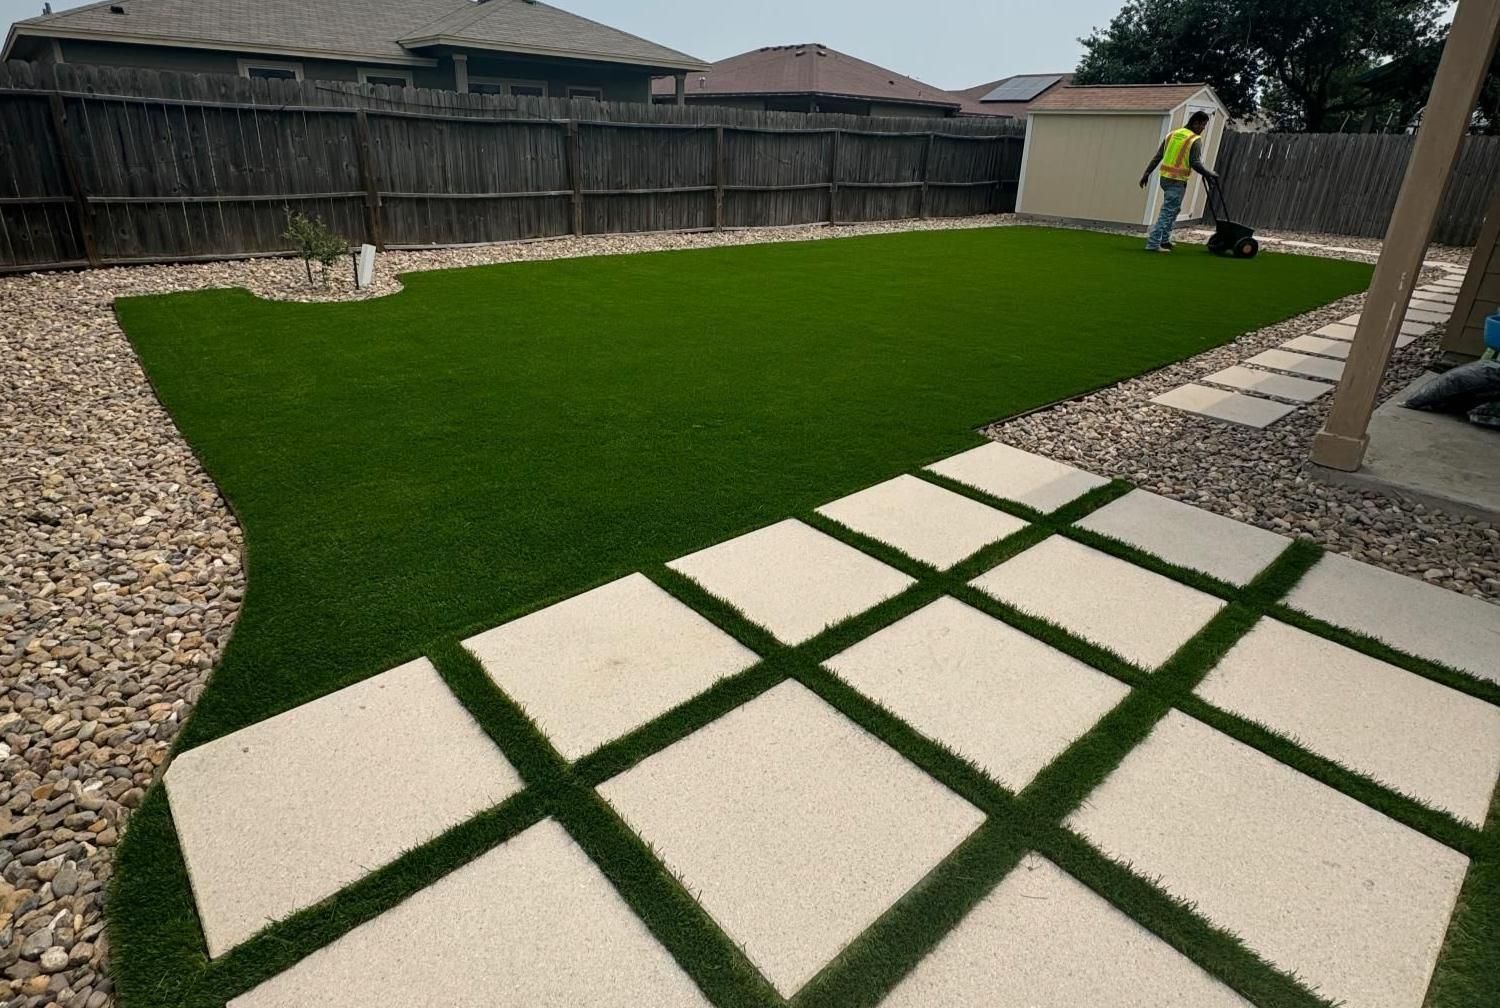
Lay the Artificial Grass
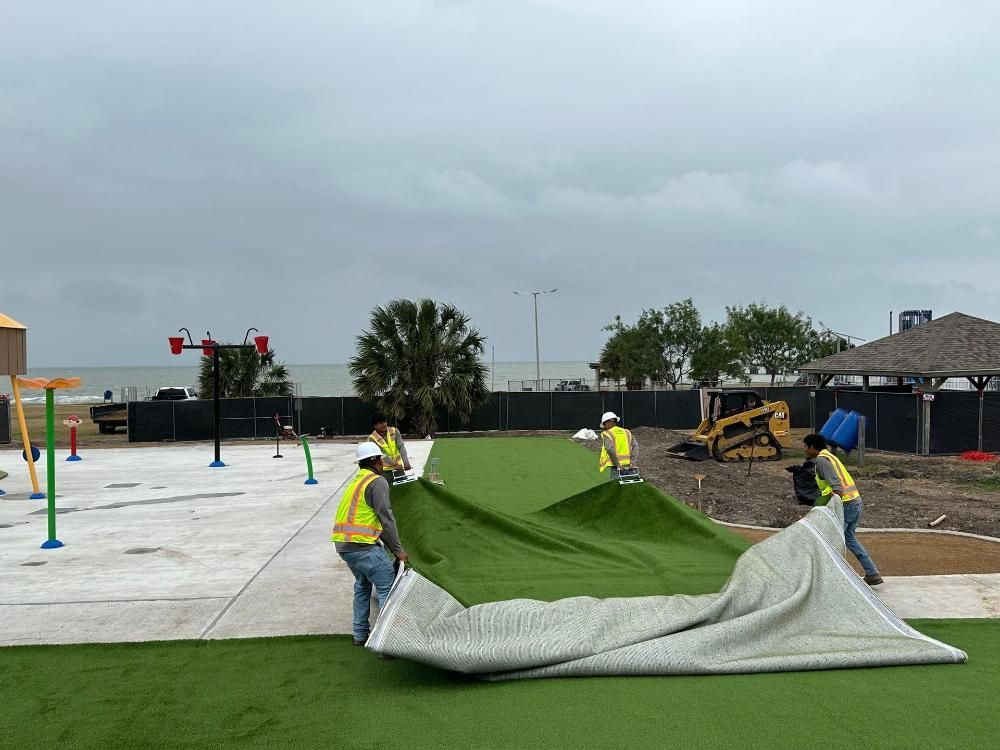
With the base layer prepared, roll out the artificial grass, making sure the blades face the same direction for a natural look. Ensure adequate drainage if installing on a concrete surface to avoid water buildup.
Anchor the edges with nails or staples to prevent shifting, keeping the turf securely in place and maintaining its appearance.
Seam and Secure the Turf Pieces
Join two pieces of artificial grass using quality tape and glue. Lay the tape shiny side down, apply adhesive, pull edges together, and apply weight to secure the seam.
This method ensures a seamless, professional finish.
Add Infill Material
Add infill material like rubber granules or silica sand to weigh down the grass and provide cushioning. Use a drop spreader for even application, enhancing drainage and supporting the grass blades.
Final Touches
Brush the grass fibers after applying the infill to restore their upright position and improve the lawn’s appearance.
Watering helps the infill settle and the grass blades rise, giving your lawn a fresh, natural look.
Maintenance Tips for Artificial Grass
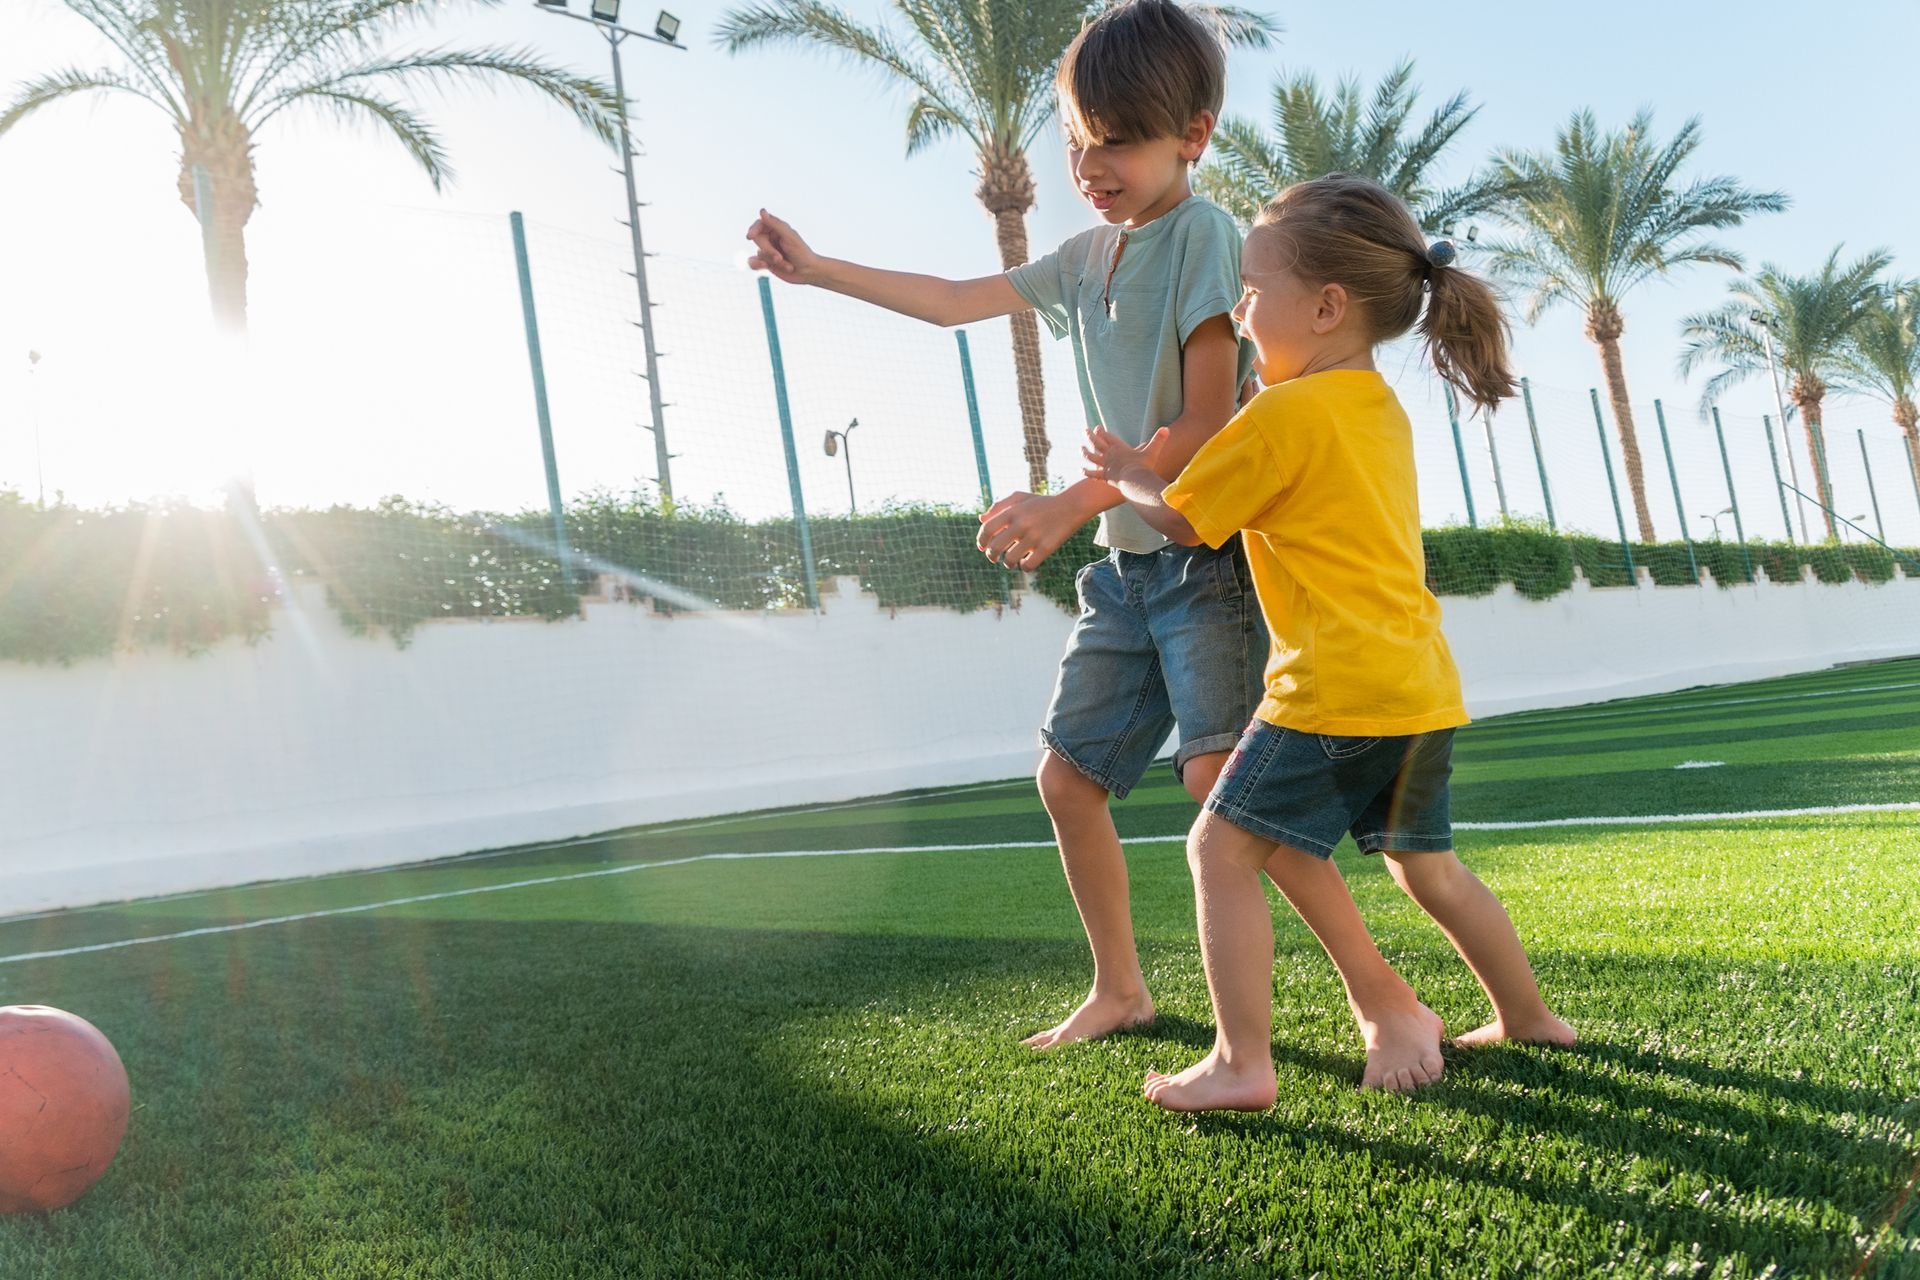
Artificial grass requires less maintenance than natural grass, but some care is still needed to keep the new artificial grass lawn looking its best. Synthetic grass can also be a great option for those seeking low-maintenance solutions.
Regular cleaning and brushing, along with proper pet waste management, keep your lush artificial lawn beautiful and functional.
Regular Cleaning
Sweep your artificial grass regularly with a stiff brush to prevent matting and wear. Use a leaf blower to remove debris and rinse with a garden hose for a fresh look. Avoid high-pressure washers to prevent damage to the blades and infill.
Clean small spills with mild soap and warm water. Regularly inspect and refresh the infill material to maintain proper drainage and comfort.
Brushing the Grass
Brush the grass against the grain to keep fibers upright and prevent matting. Use a brush with synthetic bristles to avoid damaging the fibers. Regular brushing improves the lawn’s appearance.
Regular brushing is particularly important in high-traffic areas to prevent matting from foot traffic, helping the grass maintain a lush, natural look.
Managing Pet Waste
Managing pet waste on artificial grass is straightforward. Allow solid waste to dry before picking it up. Properly installed artificial grass typically allows urine to drain away without staining.
Occasional rinsing helps eliminate odors from pet urine, keeping your artificial lawn hygienic and fresh.
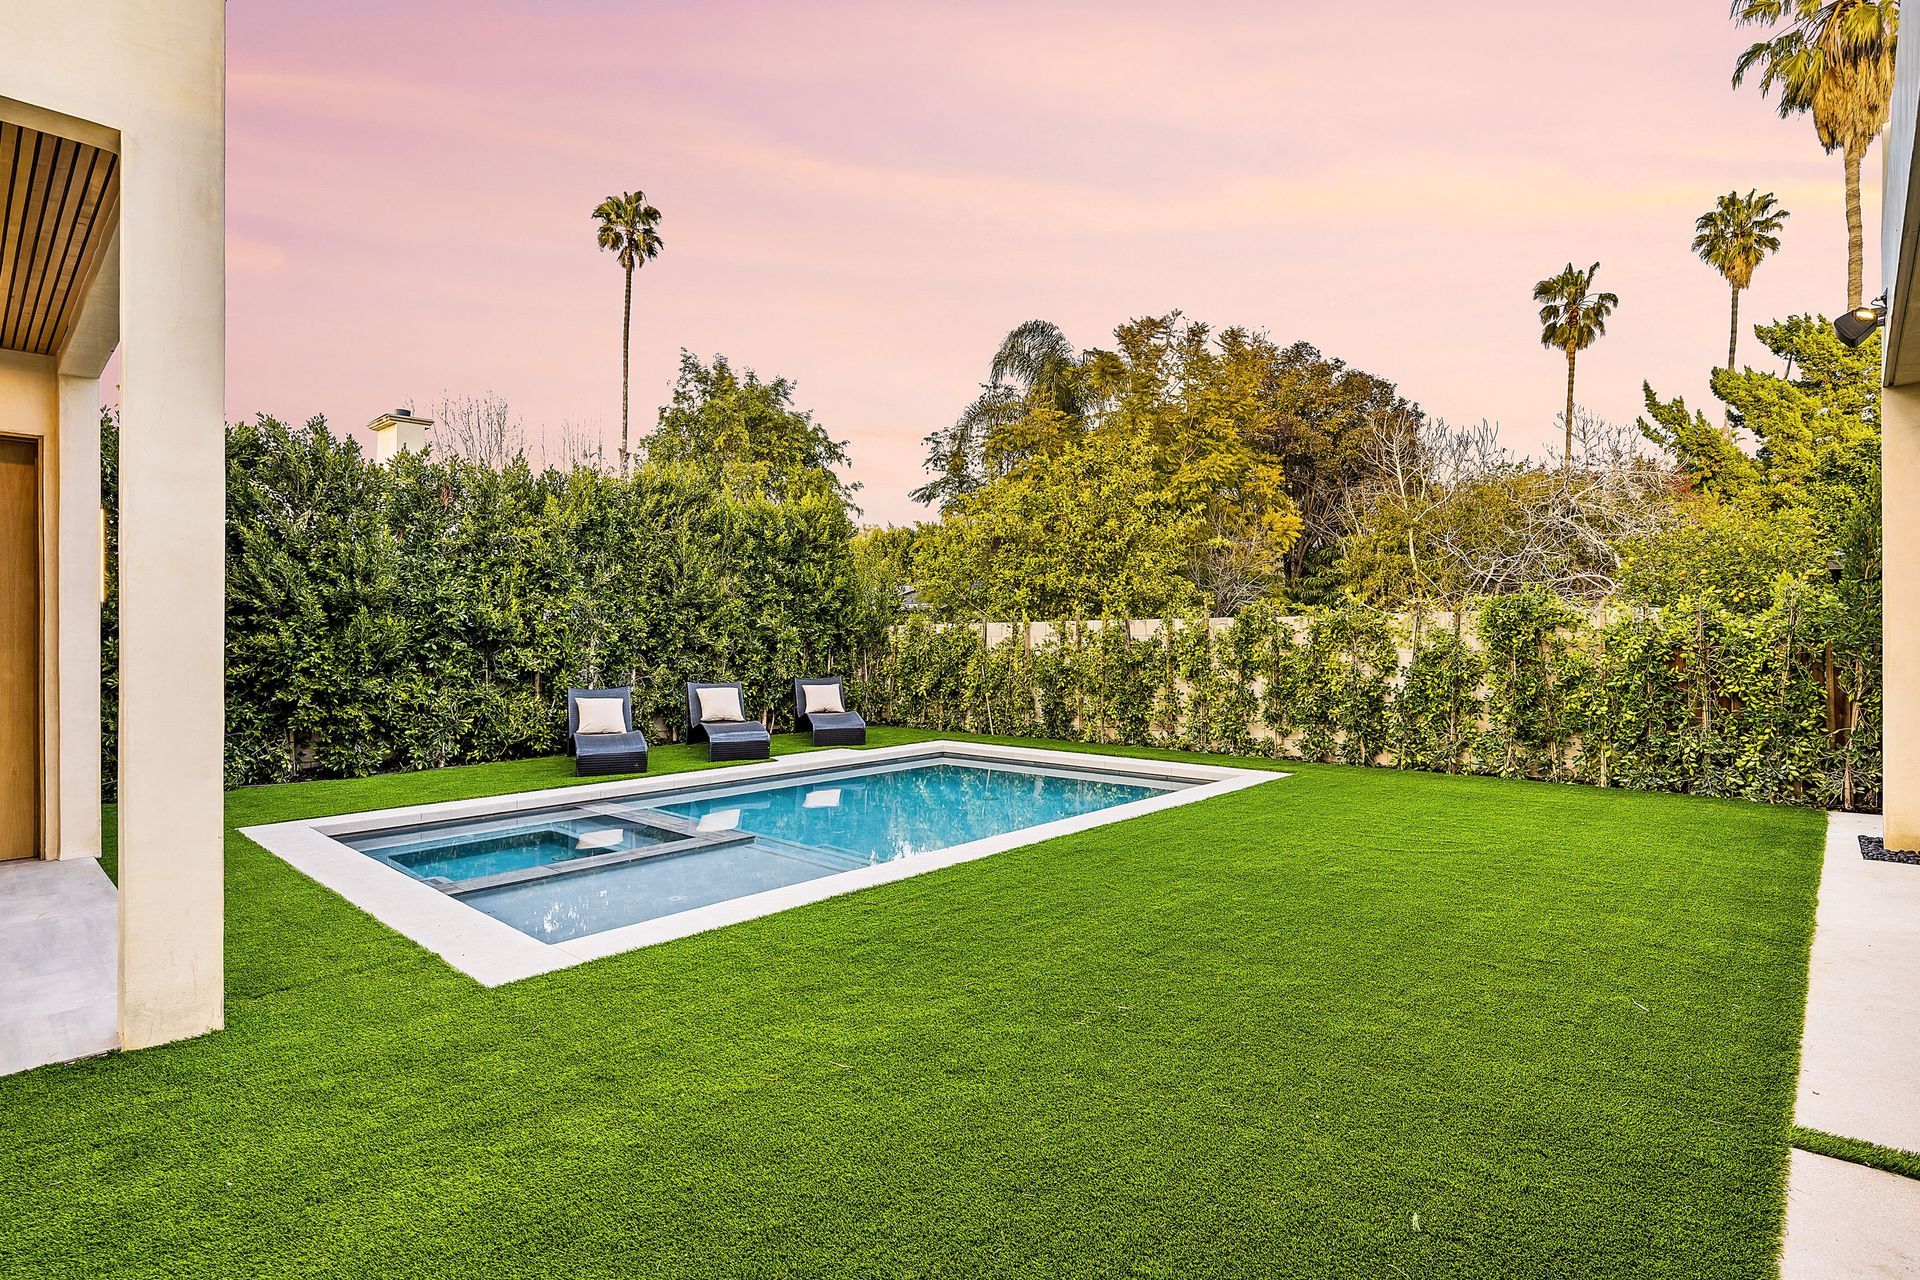
Summary
In summary, laying artificial grass involves careful planning, selecting the right materials, and following a detailed installation process. By preparing the area properly, using the right tools, and maintaining your artificial lawn, you can enjoy a beautiful, low-maintenance yard year-round. Start your artificial grass project with confidence and transform your outdoor space into a lush, green haven.
Frequently Asked Questions